
Type of sheath
There are a number of possible designs - most common are the two piece and the single folded piece types: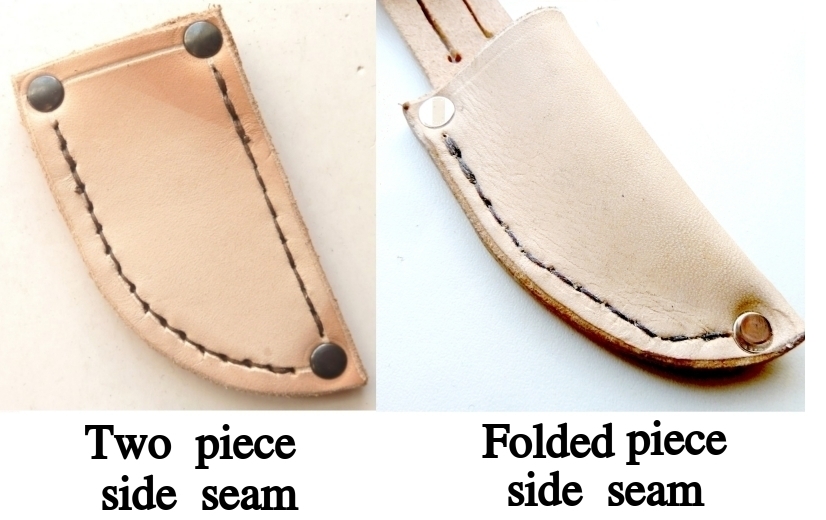
Making a template
For best results you will need to make up a template for the project.
We recommend getting some vinyl flooring offcuts or old sample books from your local carpet shop.
Floring vinyl is strong enough to hold a stitch and rivets so makes an inexpensive medium for test templates and designs. Vinyl comes in a range of thicknesses so find one that is closest to the leather you will be working with.
For the folded piece type of sheath take a piece of paper and fold it in half. Place the spine of the blade on the folded crease line then carefully lay the knife down flat to one side.
Draw around the handle and blade. For the blade section decide on a seam allowance that takes the thickness of the leather into account (i.e. thicker leathers will need a wider seam allowance). Then draw that seam allowance line on the paper following the shape of the blade around the bottom cutting edge and end / point: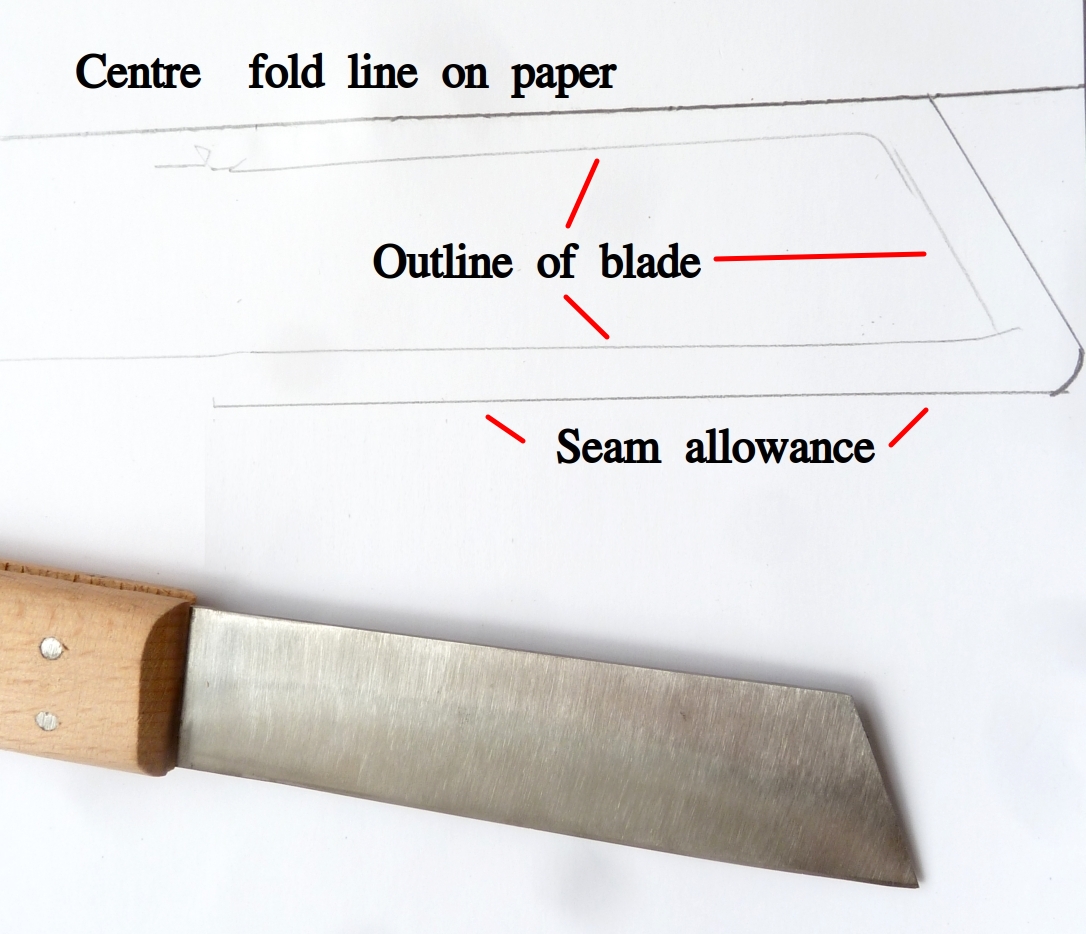
Then fold the paper at the crease line and cut along the seam allowance line with scissors or a knife.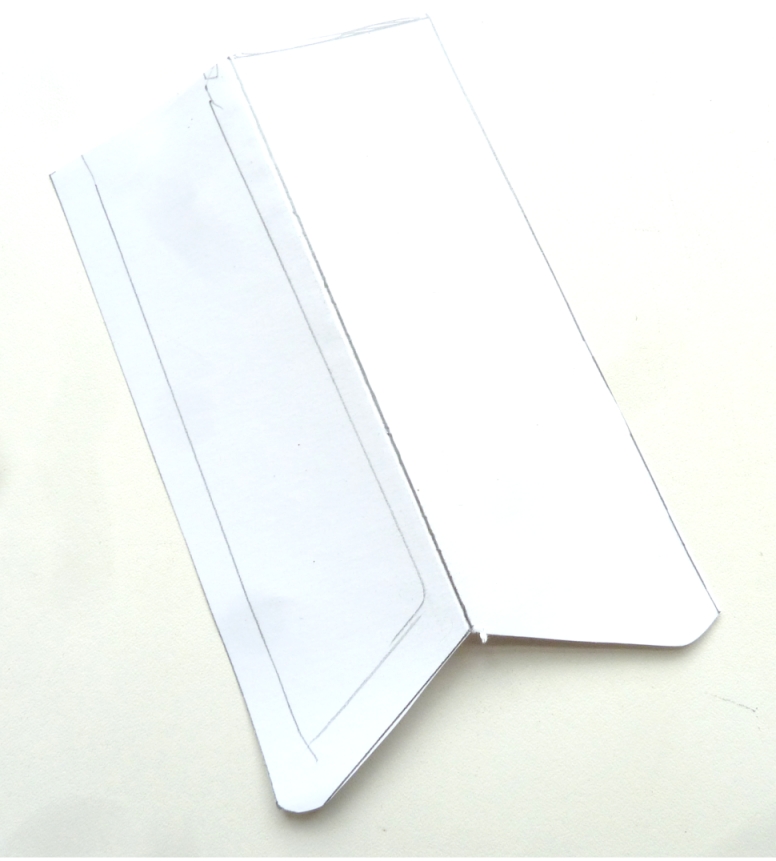
For the two piece type of sheath draw around the knife and add the seam allowance to the top, end and bottom edges of the blade.
This gives you the basic shape for the knife part of the sheath. You can then decide how you want to attach the sheath to a belt and any retaining strap to told it it in place and add these parts to the template.
Place the paper template onto the vinyl and draw around it. Cut that out then close it up with a simple basting stitch along the seam.
Then test the knife for fit in the sheath. Make any adjustments to the vinyl template shape as required.
Once you are happy with the template size and shape cut the basting stitch out. Lay the template flat on your leather and draw around it.
Leather choice
Natural undyed veg leather is a popular choice for sheaths as it can easily be wet moulded and coloured with leather dyes or oiled / waxed.
A lighter weight leather will mould more closely to the blade shape when wet moulding - our 147 shoulders at 2 to 2.5 mm thick work well for this.
For heavier weight pieces to hold larger blades our 134 shoulder is 3 to 3.5 mm thick.
If you prefer your leather already coloured, we have pre-dyed veg tan leather in 3 to 3.5 mm thickness available in Black, Brown & Dark Tan (order code 033).
For lighter weight pre-dyed options our 108, 112 & 149 shoulders are 1.8 to 2 mm thick.
All these leathers can be found on our hides page.
Small quantities of leather
If you're only making
one or two sheaths you can minimize purchase cost by buying the leather as a belt strap (order code B004 or B007).
Belt straps are a minimum of 44 inches long and can be supplied in any width you require.
These can be found on our straps page.
Alternatively we sell some leathers by the square foot.
They can be found on our leather pieces page
Thread
The traditional thread choice is a 18/3 linen thread which we stock in 10 different colours of 150 m spools (order code TR14).
15 m spools of linen thread in 3 colours are available as order code TR1.
If you prefer an artificial thread we stock braided waxed polyester threads in three thicknesses (order codes TR32, TR34 & TR35), along with artificial sinew (order code TR15).
All these can be found on our threads page.
Rivets
These can be used to strengthen a stitched
sheath or on their own to make a sheath without any stitching.
Pick a rivet with a stem length that is 2 or 3 mm longer than the total thickness of the leather
to be fastened together.
Our range of rivets can be found here.
Protecting the stitching from the blade
If you set a rivet at the end of a stitched seam the head will stop the blade cutting through the thread.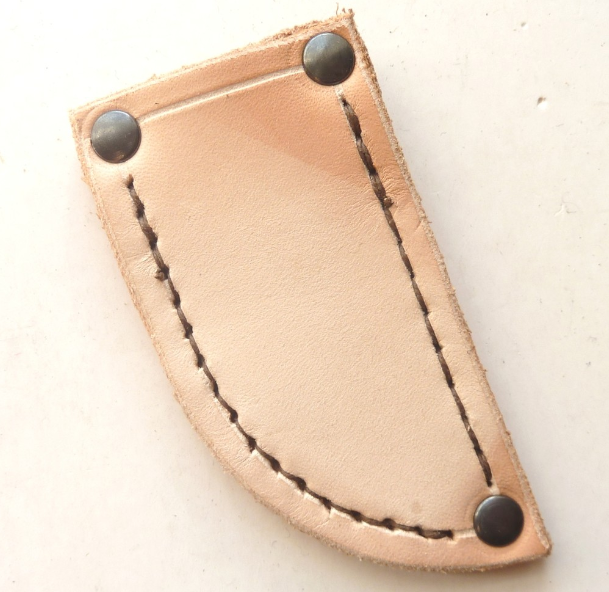
Another method is to cut a strip of leather (called a 'welt') about ¼" wide which is stitched into the seam of the sheath - this spacer keeps the blade away from the stitching.
For scabbards you can fold a suitable sized and shaped piece of leather in two and stitch it into a long tube. Then wet mould the sheath with the seam at the back.
Wet Moulding
For the best fit on a natural undyed veg-tan sheath dip the finished piece in cold clean water for 5 to 10 seconds. The amount of time in the water determines how much liquid it will absorb and how flexible the leather will become.
Wrap your blade in cling film and push it in and out of the wet sheath a couple of times to ensure the leather is stretched to the right size for the blade. If you want a closer fitting sheath use your thumbs to push the wet leather into the shape of the blade. For a flatter seam you can rub the edges with a smooth piece of wood or scrap leather whilst wet.
Once you are happy with the fit and shape remove the blade and set the wet sheath aside to dry naturally at room temperature. The quicker the leather dries the more it will shrink and become brittle so do not rush this stage with artificial heat.
Once dry test fit the blade and then add any final fittings or closures: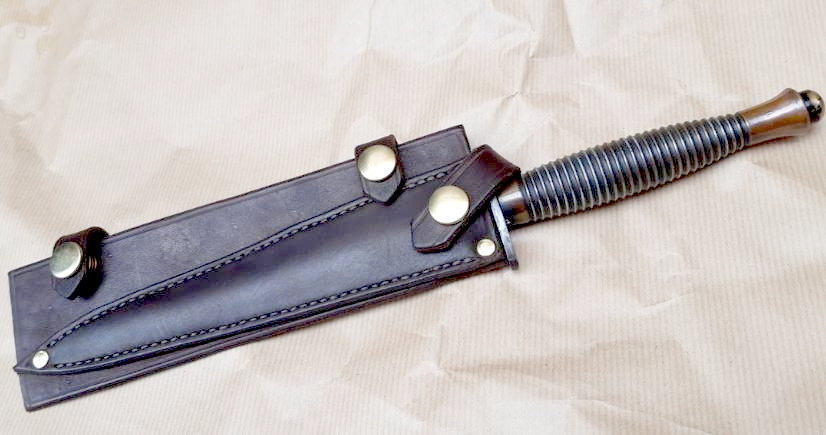
It's a good idea to condition the leather after wet moulding to replace any oils or fats. Our range of aftercare treatments can be found here.
Books
A good book on general leatherworking is
"Leathercraft Tools" which gives descriptions
of most common tools and instructions about their use.
Our range of books and patterns can be found here.
This sheath quide from Tandy also has some useful tips on designing and making a knife sheath.